How to Install Veneer Stone on a Fireplace
1.Estimating the quantity of stone needed: Measure the length times the height in feet to arrive at the square footage. Subtract square footage of the fireplace opening. For corner stones, if needed, measure the linear feet of the area needed to cover.
 2.Mantel: Protect your mantel by covering it completely with a blanket or heavy towel wrapped and taped around it.
3.Prepare wall for stone (this is for wood sheathing, dry wall or metal): Cover the area with a waterproof paper (roofing paper works well). Next you will cover the entire surface with expanded metal lath. Keep the lath tight. Nails should be placed every 6″ into studs. Use the type of fasteners appropriate for the surface you need to cover. Scratch coat mortar over the metal lath. The scratch coat should be about 3/8″ thick. Make sure the lath is completely covered and the surface is flat. Scratch the plastered surface with a wire lath, hand rake, or mason scratcher while the plaster is still wet. The stone won’t adhere to a slick or smooth surface. Most codes require the scratch coat to dry for 48 hours before setting the stone.
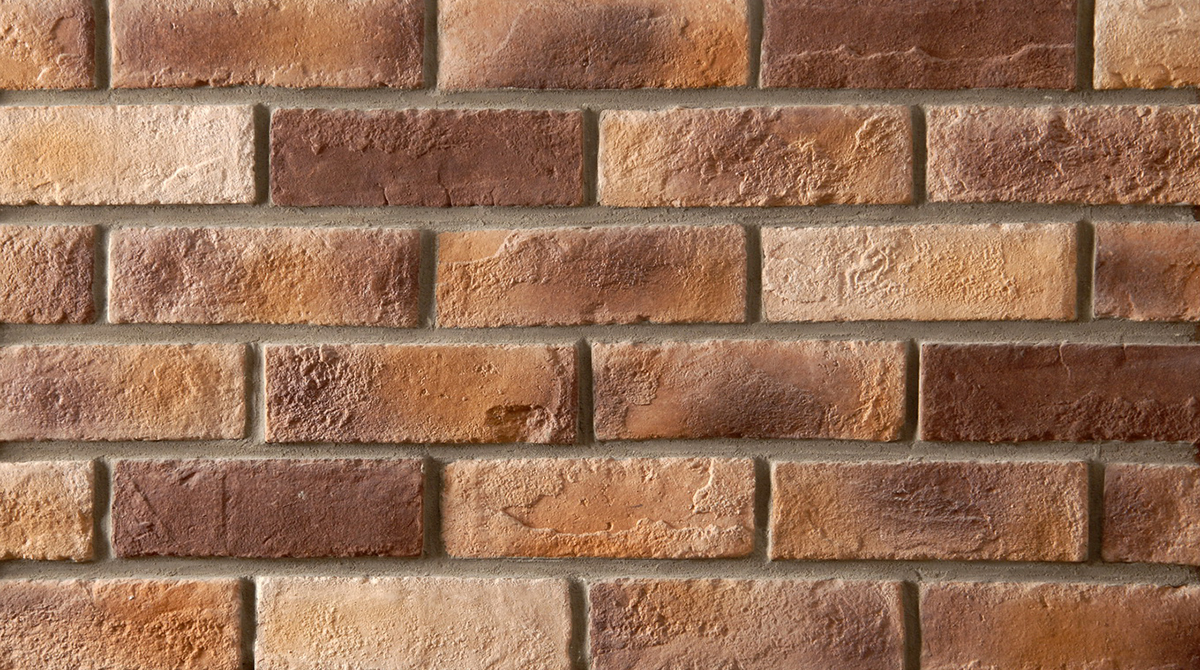
4.Lay out the stone: Lay out your stone near your work area. You can separate the stone by size, color, shape, etc if desires. This will make it easier for you find the stones you need while working. You can also lay out a basic pattern on the floor to see if you have a nice balance of color, size, and shape. This is where the “decorator” will come out in you! If you have purchased a full box of stone you will want to sort through and get a good mix from throughout the box. I like to brush and clean the stone if needed before applying to the wall.
5.Cutting the stone: Stone veneer is easy to cut. You can use a hand-held grinder with a diamond blade or the hoof nippers. We have even used our tile cutter. It also works well to “score” the backside of a stone and then rap it on a sharp edge to break it. Experiment with what works.
 6.Apply the mortar to the stone: The directions will tell you apply the mortar thickly (3/4″) in the center of the stone and taper it out to the edges. Local masons told us to “butter” the edges thickly with the trowel and leave the center empty. This has worked well for us. Too much mortar can cause the stone to slip and slide.
7.Set the stone: For random or fieldstone you will start at the top and work down. For stacked stone you start at the bottom of the wall. I like to start with the edges around the fireplace and work out from there as well. Push the stone firmly into place and wiggle it slightly to set it. Push on it firmly enough that the mortar squeezes out along the edges. Install the larger stones first and set the small stones around them. If a stone is removed you will have to re-butter it and set it again.
8.Grouting the stone: Fill the grout bag using a trowel. Hold the top of the bag and twist at least one complete turn to take up slack. Roll it down. Fill the grout joints by making a fist in the bag and forcing the mortar into the joints. This takes a strong and steady arm! Use the back of a wire brush, paint brush handle or stick to press the mortar into the joints before it sets and gets too hard. Use a wire brush to clear away chunks of excess mortar from the joints and on the stone. Use the base color of the stone to determine your grout color. Measure carefully as you will probably need to mix several batches of grout and you want to keep the color consistant.
9.Masonry sealer: Use a silane-based, breathable type, non-film forming, non-yellowing sealer to prevent soot or smoke buildup. This is also good for walls that will have water cascading on it.
10.Notes: You do not need to use lath and a scratch coat on the following walls:
* A block masonry wall with a flat, lightly textured surface
* A clean unpainted stucco wall


