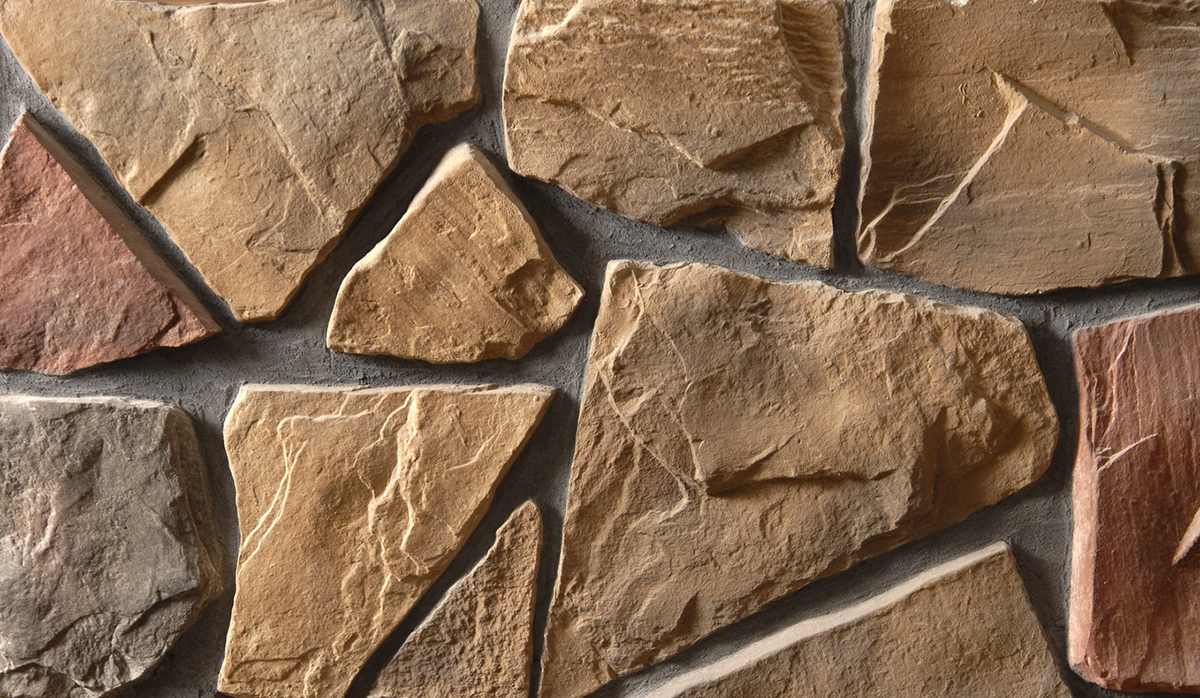
How to Install a Cultured Stone Fireplace?
A well-built fireplace can be a valuable centerpiece to your living room that adds a timeless character while bringing more warmth to your home. There are numerous ways to approach the design and installation of a new Cultured Stone fireplace — we will assume you are interested in building one with a gas insert. A trained professional should be hired to install the insert and comply with local building codes. A professional can also help you choose the best location for the fireplace depending on where the exhaust vent can legally be placed.
1. Design the shape of your fireplace. Because of the footprint of the insert, the face of your veneer will end up around 2 feet from the wall, so the 90-degree corner pieces must be purchased along with the flat pieces. Decide if you will want a raised, bench-like hearth or a floor-level hearth. Likewise, decide if you want the fireplace to come just up to the mantel or all the way to the ceiling.
2. Build the structural framework for the surround. Take into consideration building codes regarding the proximity of combustible materials near the insert — you can go to your state’s website for more information. Make your framing as stout as possible. Remember, you want this fireplace to seem as if it were made of solid stone so the sturdier your framing, the better the outcome.
3. Install your mantel. It must be firmly attached to the framing using construction adhesive combined with pre-drilled screws for the best bond. The mantel should be carefully covered with plastic and then cardboard (if you are veneering above the mantel) so it doesn’t get scratched or damaged.
4. Cover the entire structure with cement board using the self-drilling screws sold with it. Then cover that with masonry lathe that can be purchased from your veneer supplier. The quickest way to attach it is by using an air stapler with 3/4-inch staples. It can be cut to size by using a circular saw or grinder with a diamond blade.
5. Mix and apply a coat of mortar over the lathe using a float trowel. Leave ridges in the mortar’s surface to allow for a better bond with the veneer pieces. Let this dry overnight or for at least four hours.
6. Begin applying your veneer in courses, cutting pieces when necessary with the masonry saw to achieve the best fit. You will already have chosen your veneer style — if you picked a style that involves having grout lines between the stones, use strips of wood as shims between the layers that will be removed after the mortar is dry. Sponge off any mortar stains from the surface before they dry on.
7. Install your hearthstone or tiles. Most states require 20 inches from the face of the firebox to the front edge of your hearth, but check with your local codes.
8. Apply grout (if applicable) using a grout bag that handily squirts mortar where it’s wanted, requiring less cleanup. Smooth out the grout lines using a gloved finger or a pointing tool and then sponge off any excess mortar. You may find cleaning to be easier if you apply a penetrating sealant on the stone veneer before grouting.


![22[1]](https://www.manufactured-stone.com/wp-content/uploads/2013/09/221.jpg)

